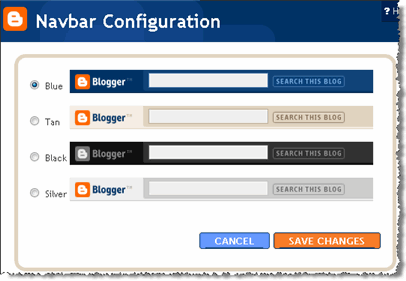
The Blogger Navbar appears by default at the top of every Blogger-powered blog. It is available in several colors, and is configured in the Template tab in Blogger’s interface. If you are using a classic template, you’ll see a menu from which you can select a color. For blogs using Layouts, just click the “edit” link on the Navbar page element. Blogger gives a more detailed explanation of this here.
There are several reasons why I think it’s important to remove the Blogger nav bar but I’ll name my two most important reasons. First one being that it’s an eye sore and makes your blog look less professional. Secondly, when you click on the “next blog” button you never know what type of blog you might stumble upon. There are so many spam blogs with adult content or other information you don’t want young people to read. When you do block the navbar on your own blog, you prevent others from also easily leaving your site and accidentally heading to one of these spam sites.
While it’s not officially against our TOS, we discourage folks from removing it because we think it’s a great feature with more improvements to come. Follow the above instructions at your own peril, as Blogger controls the TOS and has been known to change it.So the change you want to make is to the stylesheet. First make sure you backup your current template just in case you make a mistake. Click on the “Download Full Template” link ( go to “Template” => “Edit HTML”) and save it locally. Next, from within your template code you want to scroll down until you find
]]></b:skin> and stop. Then you’ll want to add this line of code right above this line.#navbar-iframe {height:0px;visibility:hidden;display:none}So once you’re done, it should look like this:
#navbar-iframe {height:0px;visibility:hidden;display:none}

]]></b:skin>
After that, save your template and view your blog. The top Blogger navbar should have disappeared! Looks much better now doesn’t it? If you ever want to add the navbar back, it’s simple. Just remove the line of code we just added. Also, if you ever switch templates, make sure to follow these instructions again because it needs to be done with each new template you use.
No comments:
Post a Comment